Satellite Dish Alignment: Achieving Perfect Signal Reception
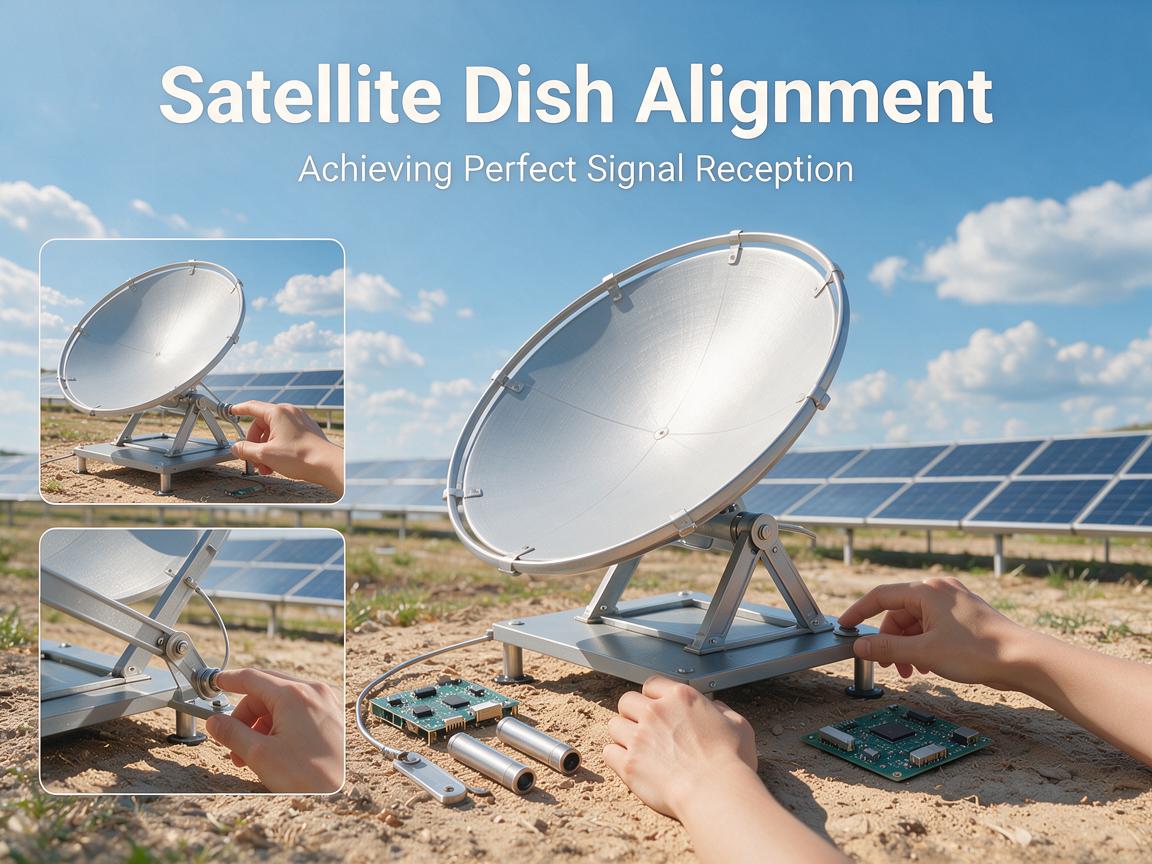
# Satellite Dish Alignment: Achieving Perfect Signal Reception
Welcome to the ultimate guide on **satellite dish alignment**! Whether you’re a beginner setting up your first satellite TV system or an experienced enthusiast looking to **fine-tune your signal reception**, this comprehensive tutorial will walk you through every step. Achieving a **perfect satellite signal** is crucial for crystal-clear picture quality and uninterrupted viewing pleasure. Poor alignment can lead to pixelation, signal dropouts, or even no signal at all.
This article will provide you with the knowledge and practical steps to expertly align your satellite dish, ensuring you get the most out of your satellite TV experience. Let’s dive in!
## **Why Proper Satellite Dish Alignment is Crucial**
Your satellite dish acts like a precise antenna, focusing faint signals from satellites orbiting thousands of miles above Earth onto a small receiver called the Low Noise Block (LNB). Even a slight misalignment can cause a significant drop in **signal strength** and **signal quality**, impacting your viewing experience. Understanding the core principles of **dish installation** and alignment will empower you to troubleshoot issues and maintain optimal performance.
## **Section 1: Essential Preparation – Gather Your Tools and Knowledge**
Before you begin the **satellite dish alignment** process, it’s vital to have the right tools and information at hand.
### **1.1 Tools You’ll Need:**
* **Satellite Finder Meter:** A digital satellite finder is highly recommended for precise adjustments. Basic analog meters can also work, but digital ones offer more accuracy.
* **Wrench Set/Socket Set:** For tightening bolts on the dish mount (typically 10mm, 13mm, or 17mm).
* **Compass:** To determine your **azimuth** (horizontal) direction. A smartphone app can also serve this purpose.
* **Inclinometer/Angle Finder:** To accurately set your **elevation** (vertical) angle. Many satellite finder apps also include this feature.
* **Spirit Level:** To ensure your mounting pole is perfectly vertical.
* **Coaxial Cable (RG6) with F-connectors:** To connect the LNB to your receiver and satellite finder.
* **Cable Ties:** For neat cable management.
* **Pencil/Marker:** For marking positions.
* **Safety Gear:** Gloves, safety glasses, and appropriate footwear, especially if working at heights.
### **1.2 Key Information You Must Know:**
* **Your Location’s Latitude and Longitude:** This is critical for calculating precise alignment angles. Use online tools or GPS.
* **Target Satellite’s Name and Orbital Position:** (e.g., Astra 28.2°E, Hotbird 13°E). This information is usually provided by your **satellite TV** provider.
* **Azimuth, Elevation, and LNB Skew Angles for Your Location and Satellite:** These are the three critical angles you’ll need to set. Many online calculators and satellite finder apps can provide these specific values based on your location and the chosen satellite.
* **Clear Line of Sight:** Ensure there are no obstructions (trees, buildings) between your dish and the target satellite. This is paramount for **perfect signal reception**.
## **Section 2: Step-by-Step Satellite Dish Alignment Tutorial**
Follow these steps carefully to achieve optimal **signal reception**.
### **2.1 Step 1: Securely Mount Your Satellite Dish**
* **Choose a Stable Location:** Select a spot with a clear line of sight to the satellite, free from obstructions. A sturdy wall, roof, or ground pole is ideal.
* **Ensure Verticality:** Use your spirit level to ensure the mounting pole or bracket is perfectly vertical. Any lean will throw off your elevation and azimuth calculations.
* **Assemble the Dish:** Follow the manufacturer’s instructions to assemble the dish reflector, support arms, and LNB arm.
* **Attach the LNB:** Mount the LNB onto the LNB arm. For now, set the **LNB skew** to roughly 0 degrees (vertical), or to the preliminary angle suggested by your calculator.
### **2.2 Step 2: Connect Your Equipment**
1. **Connect LNB to Satellite Finder:** Use a short coaxial cable to connect the LNB to the “LNB” input on your satellite finder meter.
2. **Connect Satellite Finder to Receiver/TV:** Connect another coaxial cable from the “Receiver” or “To Rx” output on your satellite finder to the “LNB In” port on your satellite receiver or satellite-enabled TV.
3. **Power On:** Ensure your satellite receiver is powered on. It will supply power to the LNB and the satellite finder.
### **2.3 Step 3: Set the Initial Elevation Angle**
* **Loosen Elevation Bolts:** Slightly loosen the bolts that control the dish’s vertical tilt (elevation).
* **Adjust to Calculated Angle:** Using your inclinometer or the elevation scale on the dish mount, set the dish to the pre-calculated **elevation** angle for your location and satellite.
* **Lightly Tighten:** Once set, lightly tighten the bolts to hold the elevation in place, allowing for small adjustments later.
### **2.4 Step 4: Locate the Satellite using Azimuth**
This is often the trickiest part, requiring patience.
* **Use Your Compass:** Stand behind the dish and use your compass to find the pre-calculated **azimuth** (horizontal) direction. Mark this direction as your starting point.
* **Slow, Horizontal Sweep:**
* Starting from a few degrees to the *west* of your target azimuth, slowly sweep the dish horizontally towards the *east*.
* As you sweep, watch your satellite finder meter for a peak in **signal strength** and listen for its audible tone (if it has one).
* Move in very small increments. Satellites are tightly packed, and you can easily sweep past the correct one.
* **Confirm Satellite:** When you find a strong signal, check your satellite receiver’s signal strength and quality indicators. If possible, try to identify the satellite on your receiver’s menu to ensure it’s the correct one. Sometimes, you might pick up an adjacent satellite.
* **Lock Azimuth:** Once you’re confident you have the right satellite and a good initial signal, tighten the azimuth bolts to secure the horizontal position.
### **2.5 Step 5: Fine-Tune Elevation for Maximum Signal Quality**
* **Loosen Elevation Bolts:** Slightly loosen the elevation bolts again.
* **Small Vertical Adjustments:** Slowly tilt the dish up and down by very small amounts around your initial elevation setting.
* **Monitor Signal Quality:** Pay close attention to the **signal quality** reading on your satellite finder and receiver. This is more important than just signal strength. Aim for the highest possible quality reading.
* **Tighten Elevation:** Once you find the sweet spot for peak signal quality, fully tighten the elevation bolts.
### **2.6 Step 6: Adjust LNB Skew for Optimal Performance**
**LNB skew** (sometimes called polarity or rotation) is the rotation of the LNB in its holder. This adjustment compensates for the curvature of the Earth and ensures the LNB correctly receives signals.
* **Loosen LNB Clamp:** Slightly loosen the clamp holding the LNB.
* **Rotate LNB:** Gently rotate the LNB clockwise or anti-clockwise.
* **Observe Signal Quality:** Again, watch your signal quality meter on the receiver or satellite finder. You should see a noticeable change.
* **Lock LNB Skew:** Rotate until you achieve the absolute maximum **signal quality**. Once found, tighten the LNB clamp firmly.
### **2.7 Step 7: Final Tightening and Cable Management**
* **Double-Check All Bolts:** Ensure all bolts (azimuth, elevation, LNB skew) are securely tightened. High winds can shift a loose dish, ruining your **perfect signal**.
* **Cable Routing:** Neatly route the coaxial cable using cable ties, ensuring it doesn’t get snagged or damaged. Leave a drip loop near the LNB to prevent water from running down the cable into the LNB or connectors.
* **Weatherproof Connections:** Use self-amalgamating tape or silicone sealant to weatherproof all F-connectors to prevent moisture ingress, which can degrade your signal over time.
## **Section 3: Troubleshooting Common Satellite Signal Issues**
Even with careful alignment, you might encounter issues. Here’s how to troubleshoot them:
* **”No Signal” or “Signal Lost”:**
* Check all cable connections for looseness or damage.
* Verify the LNB is powered (some satellite finders indicate this).
* Re-check azimuth and elevation with your tools. You might be on the wrong satellite.
* Ensure there are no new obstructions in the line of sight.
* Test the LNB and receiver with known working components if possible.
* **Weak Signal/Pixelation:**
* This often indicates minor misalignment. Re-adjust **elevation** and **LNB skew** in small increments, focusing on signal quality.
* Check for loose or corroded F-connectors.
* Ensure cable runs aren’t excessively long or damaged.
* Consider upgrading to a higher gain LNB or a larger dish if you’re in a fringe reception area.
* **Intermittent Signal:**
* Could be weather-related (heavy rain fade).
* Loose connections that are affected by wind or temperature changes.
* Obstructions (e.g., tree branches swaying in the wind).
## **Section 4: Advanced Tips for Enhanced Reception**
For those seeking to maximize their **satellite TV** experience:
* **Advanced Satellite Finder Meters:** Professional digital meters can identify the satellite, show signal constellation diagrams, and provide more detailed diagnostics, making **perfect signal** acquisition much faster.
* **Multi-LNB Systems:** If you want to receive signals from multiple satellites with one dish, consider a multi-LNB setup. This requires precise spacing and skew adjustment for each LNB, often on a specialized LNB holder.
* **Dish Size:** In areas with weaker signal footprints, a larger dish can significantly improve **signal strength** and **quality**, making alignment less critical for basic reception but still important for optimal performance.
* **Actuator/Motorized Dishes:** For receiving hundreds of channels from various satellites, a motorized dish allows you to automatically track different orbital positions. This is a complex setup best left to experienced installers.
## **Conclusion: Enjoy Your Perfect Satellite Reception!**
Mastering **satellite dish alignment** is an invaluable skill that ensures you enjoy the best possible **satellite TV** experience. By following this detailed tutorial, you’ve learned how to prepare, precisely adjust your dish’s **azimuth**, **elevation**, and **LNB skew**, and troubleshoot common issues. A well-aligned dish not only provides superior **signal reception** but also prolongs the life of your equipment by reducing strain on your receiver to decode weak signals.
**Ready to explore more ways to optimize your satellite TV setup?** Visit our website at satellitetvsoftware.com for cutting-edge **satellite TV software**, advanced tools, and more expert guides to enhance your viewing pleasure! Get your **perfect signal** today!