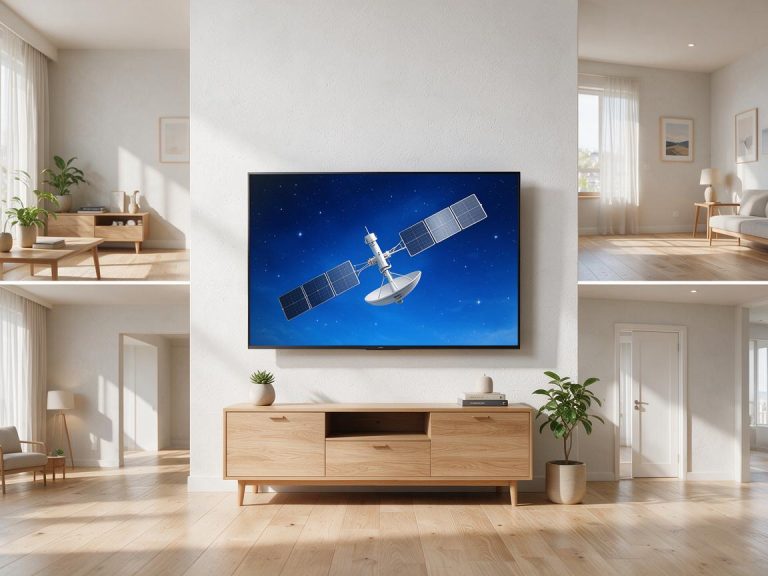
Setting Up a Satellite Receiver with HDMI and Audio
Once the dish is connected, the TV side of the setup is where most people get stuck. Getting HDMI and audio right means the picture and sound actually appear.
The HDMI Connection
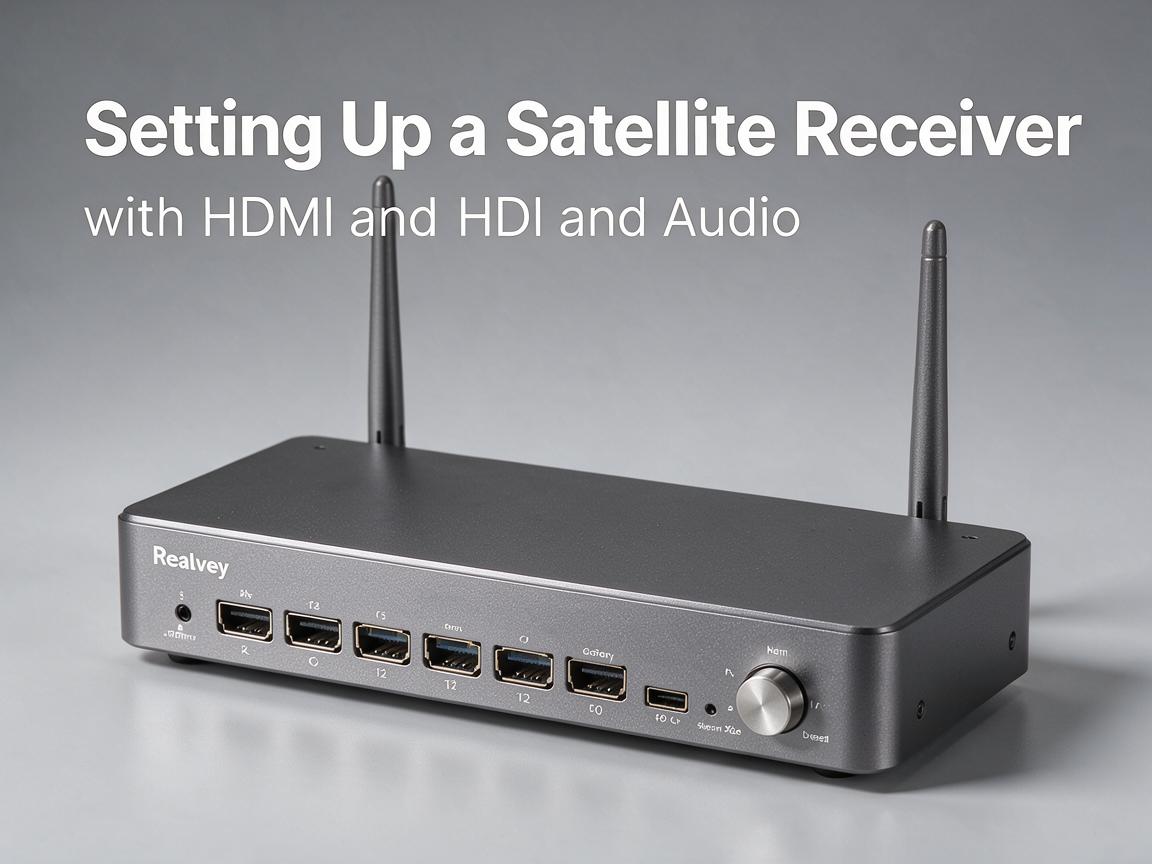
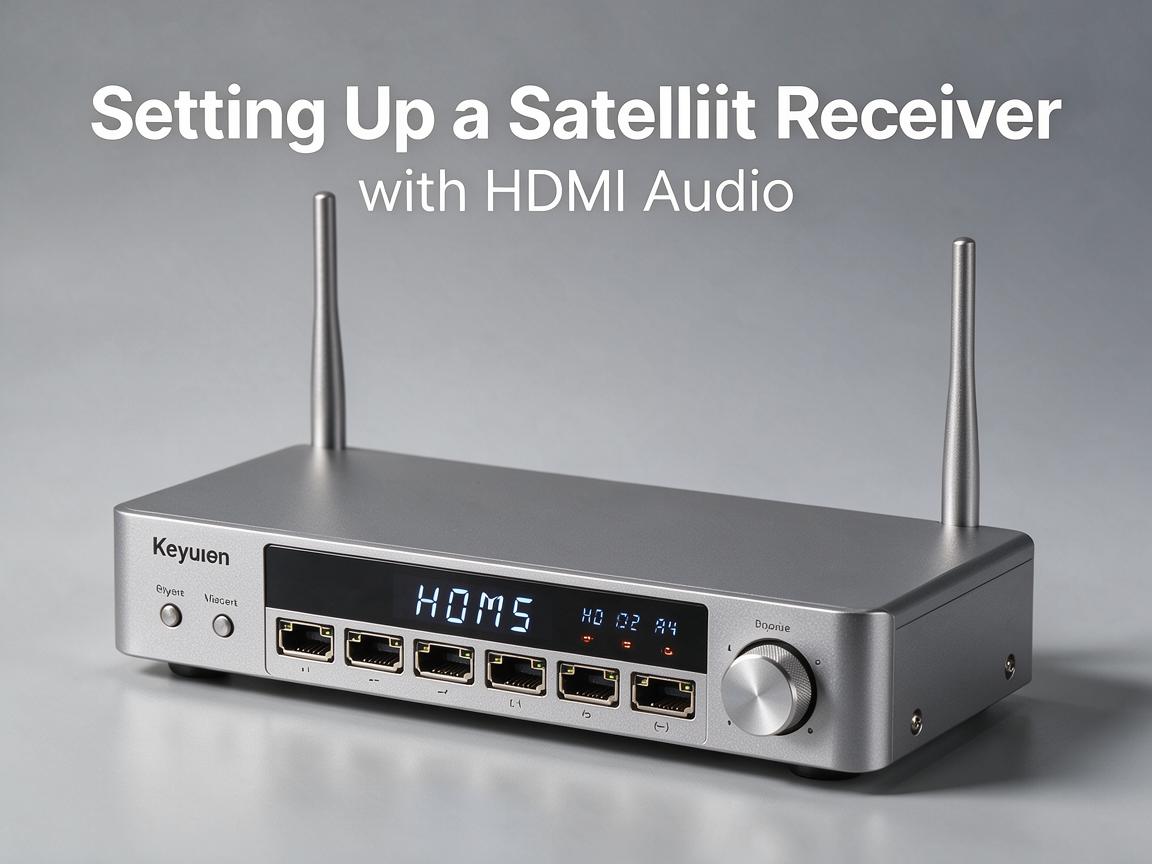
Plug one end into the receiver's HDMI out, the other into an HDMI input on the TV. Switch the TV to that input. Use an HDMI 2.0+ cable if you want 4K.
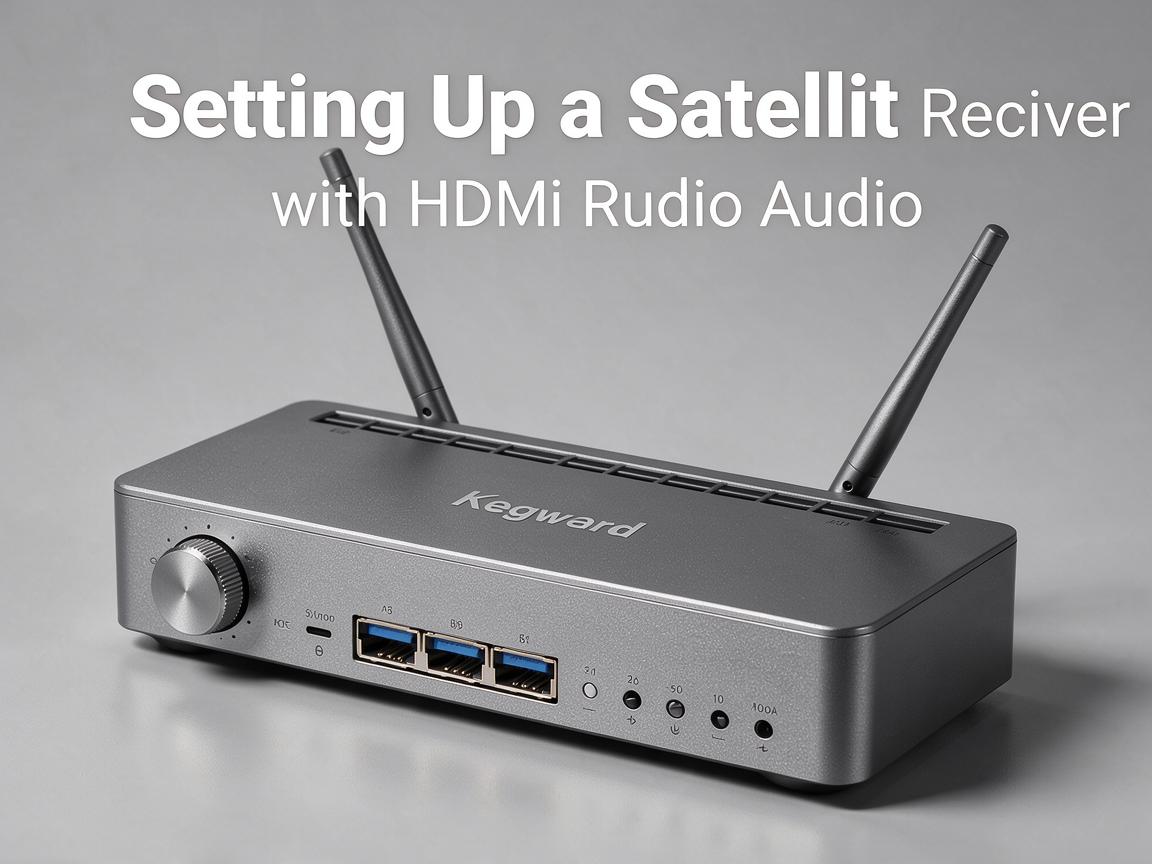
No Picture? Check the Obvious
- TV on the right HDMI input?
- Receiver powered on, not in standby?
- HDMI cable firmly seated at both ends?
Audio: HDMI vs Optical
By default, audio travels over the same HDMI cable to the TV. If you use a soundbar or AV amplifier, you can either:
- Pass audio through HDMI to the TV and then to the soundbar (ARC).
- Send audio directly from the receiver to the amp via optical SPDIF.
Set the Audio Output
In the receiver's audio menu, choose the right output: HDMI for TV speakers, or optical/SPDIF for an external amp. Set the digital audio format to match your amp (usually AC3/AAC passthrough).
Resolution
Set the receiver's output resolution to match your TV — usually 1080p50 for HD, 2160p for 4K. If the TV says “format not supported”, reboot the receiver at a lower resolution.
HDMI-CEC
If your TV and remote start fighting, turn off HDMI-CEC in both menus.
Test Everything
Play an HD channel and check picture, sound and volume. Flip between a few channels to make sure audio is stable.
The TV side of satellite setup is usually plug-and-play. When it goes wrong, it is almost always the HDMI input or the audio output setting.