Satellite Dish Pole Mount Installation: A Practical Guide
The pole is the spine of your satellite installation. Whether you are fitting a fixed dish or a DiSEqC motor, a straight, vertical, rigid pole determines whether the rest of the job goes smoothly. This practical guide covers choosing, setting and securing a satellite dish pole mount.
Choosing the Right Pole
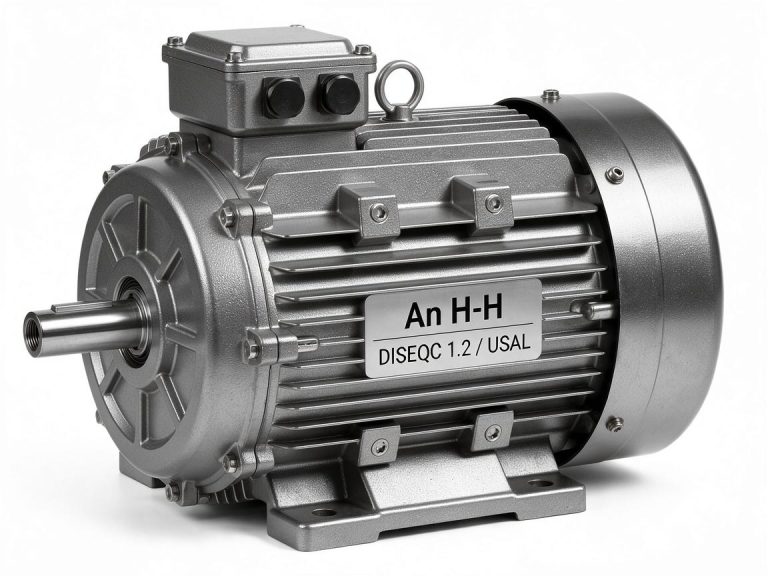
Use a 40 mm outside diameter galvanised steel pole, at least 1.5 mm wall thickness. Thin “tin can” poles flex in the wind and will pixelate your picture. Powder-coated steel is fine; plain silver galvanised lasts longest outdoors. For motorised mounts, always use the exact diameter the motor manufacturer specifies — sloppy fit ruins DiSEqC accuracy.
Ground Sleeve vs Freestanding Base
Concrete-in sleeve
Dig a 60 cm hole, drop in a 75 mm sleeve, and concrete it. The dish pole slides inside the sleeve — you can remove or adjust it later without breaking concrete. This is the professional standard.
Bolt-down base plate
A heavy steel plate with anchor bolts onto a concrete patio or shed base. Good where you cannot dig, but it must be genuinely bolted down, not just sitting on the slabs.
Setting the Pole Vertical
A fixed dish tolerates a small tilt; a motorised one does not. Use a long spirit level, and check the pole on both axes. Digital inclinometer apps are surprisingly accurate — calibrate them on a known flat surface first. Tighten the clamp bolts gradually, re-checking level after each nip-up.
Height and Clearance
Allow enough pole above the bracket so the dish clears the ground by at least 60 cm — this keeps rain splash off the LNB and stops children walking into it. Leave enough pole below the clamp so there is no levering force on the dish arm.
Fixing the Pole to a Wall
For wall-mounted poles, use at least three heavy-duty bands around the pole, each bolted into the masonry (not into mortar). If the wall is a cavity wall, use cavity wall sleeves to spread the load.
Cable Management on the Pole
Clip the coax neatly up the back of the pole (the side pointing away from the dish). Leave a service loop where the cable exits the LNB arm so future LNB swaps do not yank the cable. Use UV-stable cable ties or plastic clips — black nylon ties degrade in sunlight within a year.
Finishing Touches
Once the dish is aligned and the signal is peaked, give every bolt a final check. Mark the azimuth position with a paint pen so you can see if the dish is ever knocked out of alignment. A good pole mount should not need touching again for a decade.