Installing a Satellite Antenna: Tools, Safety and Step-by-Step Process
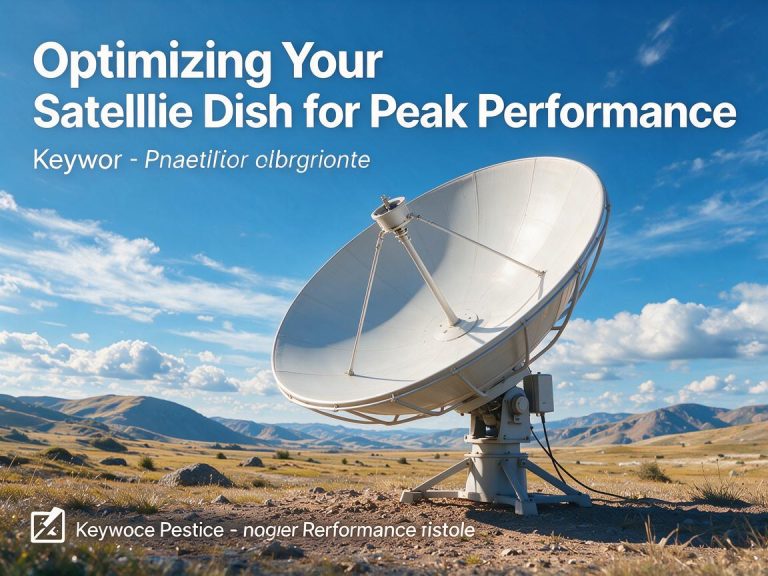
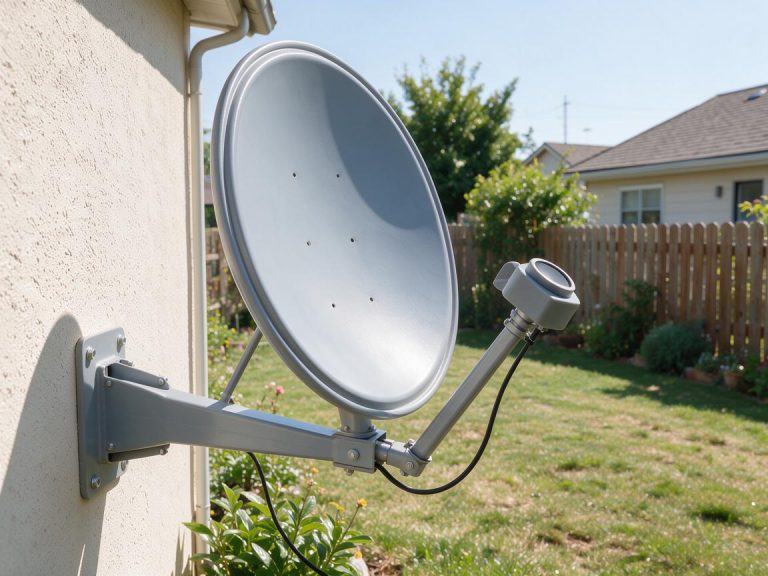
A satellite antenna — more commonly called a satellite dish — converts the faint microwaves arriving from a geostationary satellite into a signal your receiver can use. Installing one safely requires a few specialised tools and a methodical approach. This guide covers the practical side of installing a satellite antenna, from the tools in your bag to the moment you see your first channel.
Choosing the Right Satellite Antenna
Dishes come as solid or mesh, fixed or motorised. A standard 60–80 cm elliptical offset dish suits most European homes. Mesh dishes shed wind better in exposed locations, while solid dishes perform slightly better at the edge of the footprint. If you want to watch several satellites, you will need either a multi-LNB dish on a “monoblock” feed or a motorised polar mount.



Essential Tools for the Job
- Satellite signal meter — a cheap analogue tone finder is fine; a digital one showing BER and quality is better.
- Crimper and F-connector tool — for making reliable joints.
- Cable knife and stripper — never use a Stanley knife freehand on coax.
- Spirit level and compass (or a phone satellite-pointer app).
- Drill, masonry bits and wrench set.
Safety: Read This Before You Climb
Most satellite installations fail not because of bad alignment but because of avoidable accidents. Always use a proper ladder with someone footing it, wear gloves to protect hands from sharp dish edges, and never work on a roof in wet or windy weather. If the mount is above first-floor height, seriously consider hiring a professional — the few pounds saved are not worth a fall.
Step-by-Step Installation
1. Mount the pole
Fix a 40 mm galvanised pole vertically to a solid wall or ground stand. A vertical pole makes DiSEqC motor operation accurate; a tilted one will make the motor hunt back and forth.
2. Fit the dish
Attach the dish to the pole clamp. Leave the elevation and azimuth adjusters loose enough to move by hand but tight enough that the dish does not flop under its own weight.
3. Set the LNB
Insert the LNB into the feed horn until it seats. Set its rotation (skew) to the value your pointer app recommends — this aligns the internal probe with the satellite's polarity.
4. Make the cable off
Cut the coax to length, fit F-connectors, and connect the LNB end. Leave a service loop of cable near the dish so future servicing is easier.
5. Peak the signal
With the receiver on and a known transponder tuned, sweep the dish slowly. Watch the quality bar — it will jump sharply when you cross the satellite. Peak it, nip up the bolts, and re-check.
Final Checks
Run a full blind or network scan. Check that both polarities and all band segments (low/high band) lock. If you can see signal strength but no quality, the dish is pointed near but not at the satellite; keep sweeping in small increments.
Installing a satellite antenna is a learnable skill. The first dish takes an afternoon; your fifth will take an hour. Buy a decent meter, take your time, and treat the ladder with respect.